
Table of Contents
- What Built Green Project Design Services Include
- Step 1: Assess Your Project Goals and Baseline Performance
- Step 2: Integrate Energy-Efficient Mechanical Design Services Into Your Plan
- Step 3: Apply Indoor Air Quality Strategies for Residential Construction
- Step 4: Meet Built Green Certification Requirements
- Step 5: Optimize Your Design for Long-Term Performance and Cost Savings
- Common Mistakes to Avoid in Green Project Design
- Frequently Asked Questions
Last Updated: September 19, 2026
What Built Green Project Design Services Include
Built green project design integrates high-performance mechanical systems, sustainable materials, and indoor air quality strategies into residential construction from the earliest planning stages.
Core services include energy-efficient HVAC design, thermal envelope optimization, indoor air quality planning, water conservation strategies, site development planning, and third-party verification for Built Green certification.
The goal is straightforward: design homes that cost less to operate, feel more comfortable, and last longer. This requires coordination between architects, builders, and mechanical specialists early in the process, not as an afterthought.
The best time to integrate green design is during initial concept planning, not during construction. Changes made on paper cost nothing. Changes made on-site cost thousands.
Step 1: Assess Your Project Goals and Baseline Performance
Define your green priorities, net-zero energy, indoor air quality, budget, or timeline constraints. Establish a baseline of current energy consumption, water usage, and environmental conditions. You can’t improve what you don’t measure.
Document current energy usage, water consumption, material selections, HVAC specifications, and indoor air quality assumptions. This baseline shows where improvements matter most and justifies design decisions.
A clear baseline prevents scope creep and keeps your project focused on measurable outcomes rather than vague sustainability goals.
Step 2: Integrate Energy-Efficient Mechanical Design Services Into Your Plan
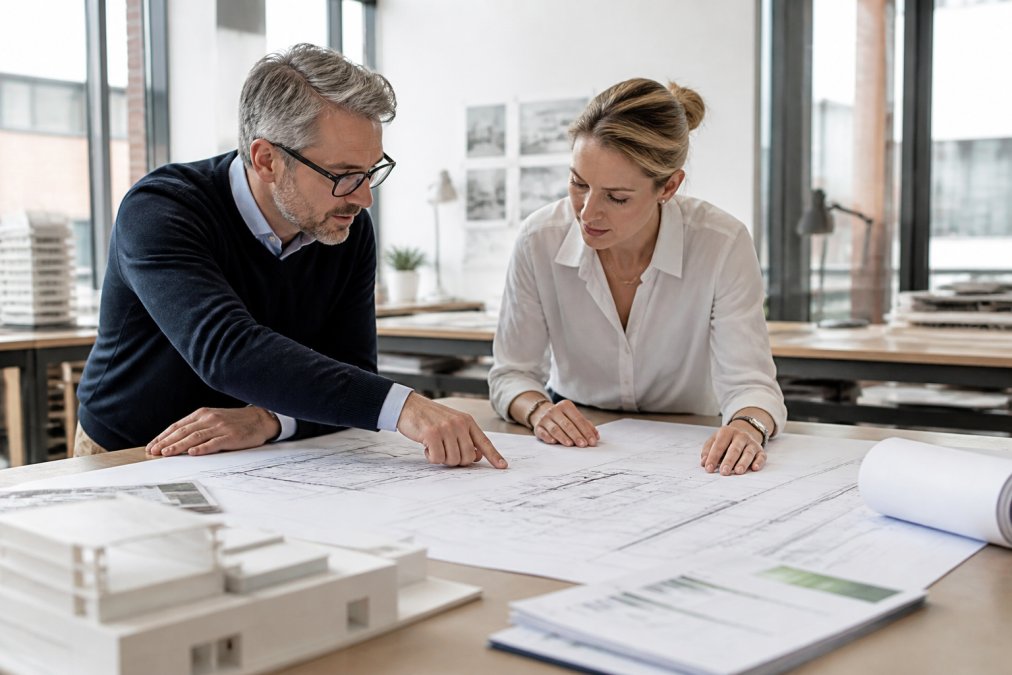
Energy-efficient mechanical design delivers the biggest performance gains by matching systems to actual building loads. Mechanical decisions made during schematic design cost nothing to change; during construction they cost thousands.
The Project Timeline: When to Engage Mechanical Design Services
Most builders engage mechanical engineers during construction documents, too late. By then thermal loads are fixed and equipment must fit remaining space. Green building requires earlier engagement:
Phase 1: Schematic Design (Weeks 1-4)
Engage mechanical design before the architect finalizes layout. Input includes building orientation (which reduces cooling load 15-25%), window placement, thermal zoning, mechanical room location, and ventilation strategy. The mechanical engineer produces a preliminary load estimate to guide equipment sizing.
Phase 2: Design Development (Weeks 5-12)
Refine the design with detailed thermal load calculations, right-sized equipment selection, ductwork layout, ventilation system design, and controls strategy. Produce load calculations, equipment specifications, and ductwork schematic for cost estimation and feasibility review.
Phase 3: Construction Documents (Weeks 13-20)
Produce final ductwork plans, equipment schedules, installation details, and commissioning plan. Design must be locked; changes are expensive and disruptive.
Phase 4: Construction and Commissioning (Weeks 21+)
A commissioning agent verifies equipment installation, ductwork sealing, control programming, ventilation delivery, and system balancing. Commissioning costs 1-3% of mechanical system cost but catches errors that would waste energy for decades.
Key Mechanical Design Elements
Regardless of project phase, these elements define energy-efficient mechanical design:
Right-sized HVAC systems matched to actual loads (30-50% less capacity than code-minimum). High-efficiency equipment (15-18 SEER2 saves 15-20% on heating/cooling costs). Ductwork design minimizing losses (5-10% in conditioned space vs. 20-30% in unconditioned). Ventilation strategies with heat/energy recovery (70-85% efficiency). Humidity control maintaining 30-50% relative humidity.
The mechanical system should work with your building envelope, not against it. A tight, well-insulated home paired with a properly designed HVAC system delivers superior performance and comfort at lower operating cost.
Engage mechanical design services during schematic design, not construction documents. Early involvement allows the mechanical engineer to shape the building layout, orientation, and envelope for optimal performance. Late engagement forces expensive compromises and missed efficiency opportunities.
Step 3: Apply Indoor Air Quality Strategies for Residential Construction
Indoor air quality directly affects occupant health and comfort. Most homes don’t prioritize this until problems emerge.
Built green project design addresses indoor air quality through multiple strategies:
- Controlled ventilation that brings in fresh air while managing humidity
- Material selection that avoids off-gassing and volatile organic compounds
- Moisture management that prevents mold and maintains healthy humidity levels
- Source control that eliminates or reduces pollutant sources
- Filtration systems that remove particulates and allergens
The key is balance. You need fresh air, but uncontrolled fresh air can waste energy. You need to remove moisture, but over-drying creates discomfort. Strategic mechanical design manages these trade-offs.
Start by specifying low-VOC materials for finishes, adhesives, and paints. Design your ventilation system to deliver fresh air to occupied spaces while exhausting from kitchens and bathrooms. Install proper humidity controls to maintain levels between 30-50%.
Tight homes without proper ventilation create indoor air quality problems. Air sealing must be paired with controlled fresh air intake, or you’ll trap moisture and pollutants inside.
Step 4: Meet Built Green Certification Requirements
Built Green certification provides a structured framework and third-party verification for your sustainable design efforts. Understanding the certification requirements early guides your design decisions.
Built Green certification uses a checklist-based scoring system across multiple categories:
- Energy efficiency and renewable energy integration
- Water conservation and efficient fixtures
- Indoor air quality and healthy materials
- Durability and maintenance
- Site development and landscaping
- Waste reduction during construction
Each category contains specific requirements and optional features. You earn points toward certification by meeting these criteria. The certification levels reflect your total score and demonstrate to buyers that your home meets verified sustainability standards.
The certification process requires documentation and third-party verification. This means keeping detailed records of material selections, equipment specifications, and construction practices. It takes time, but the verification adds credibility to your green claims.
Start with the certification checklist early. Use it as your design guide. This prevents costly redesigns later when you discover you’ve missed key requirements.
Step 5: Optimize Your Design for Long-Term Performance and Cost Savings
Green design is only successful if it performs well over decades and delivers measurable financial returns. This means thinking beyond initial construction to long-term operation, maintenance, and actual cost savings homeowners and developers realize.
Understanding the Cost-Benefit Framework
Most green building articles discuss benefits without addressing the real question: Does the upfront investment pay for itself? The answer depends on three variables: initial cost premium, annual operating savings, and time horizon.
A typical energy-efficient home costs 3-8% more to build than a standard home, depending on the efficiency level and local construction costs. This premium covers upgraded insulation, high-efficiency HVAC systems, better windows, and mechanical ventilation. For a $400,000 home, this translates to $12,000-$32,000 in additional design and construction costs.
Annual operating savings come primarily from reduced energy consumption.
The payback calculation is straightforward:
- Upfront premium: $12,000-$32,000
- Annual savings: $300-$450
- Simple payback period: 27-107 years
Water savings: Low-flow fixtures and efficient irrigation reduce water consumption by 30-50%. Annual water and sewer costs average $1,000-$1,500 nationally. A 40% reduction saves $400-$600 annually, or $4,000-$6,000 over 10 years.
Calculating ROI for Your Specific Project
Generic payback periods don’t apply to every project. Your actual ROI depends on:
- Local energy costs: Regions with high electricity rates (Northeast, California) see faster payback than regions with cheap power.
- Climate zone: Homes in cold climates benefit more from insulation and air sealing. Hot climates benefit more from solar shading and reflective roofing.
- Occupancy duration: A homeowner planning to stay 20+ years recovers the full investment. A developer selling immediately captures value through resale premium, not operating savings.
- Financing structure: A developer financing green upgrades into the mortgage spreads costs across 30 years while capturing resale premium immediately.
Design for Durability and Lifecycle Value
Beyond energy and water, design choices that extend building lifespan reduce total cost of ownership:
- Material selection: Specify materials rated for 50+ years in your climate zone. Composite decking, metal roofing, and fiber cement siding cost more upfront but eliminate replacement cycles.
- Mechanical system redundancy: Design HVAC systems with backup capacity or zoning so a single failure doesn’t leave occupants without heating or cooling while repairs occur.
- Moisture management: Proper drainage, vapor barriers, and ventilation prevent mold, rot, and structural damage, the costliest building failures.
- Accessibility for maintenance: Design mechanical rooms, attic access, and crawl spaces for easy filter changes, ductwork cleaning, and equipment service. Poor accessibility leads to deferred maintenance and system failure.
The strongest ROI comes from combining modest efficiency upgrades (insulation, air sealing, right-sized HVAC) with durable materials and proper maintenance. Chasing cutting-edge technology without addressing the fundamentals wastes money.
Common Mistakes to Avoid in Green Project Design
Skipping the baseline assessment. Without understanding your starting point, you can’t measure success or prioritize improvements.
Frequently Asked Questions
What are the core requirements for Built Green certification?
Built Green certification uses a checklist-based scoring system covering energy efficiency, water conservation, sustainable materials, indoor air quality, and waste management. Projects earn points across multiple categories, with third-party verification confirming compliance. The certification provides access to expedited permitting in participating jurisdictions and eligibility for cash rebates and incentives. Requirements vary by project type and regional guidelines, so working with a design consultant familiar with your local Built Green standards ensures you meet all necessary benchmarks without overbuilding.
How do energy-efficient mechanical design services improve home performance?
Specialized mechanical design optimizes HVAC systems, ductwork, ventilation, and thermal envelope performance to reduce energy consumption while maintaining healthy indoor air. Proper sizing of equipment, strategic duct placement, and integration with building science principles eliminate oversizing waste and air leakage. Performance testing validates that designed efficiency gains are actually achieved during construction. This targeted approach typically delivers measurable energy savings and more consistent indoor temperatures compared to standard MEP engineering.
What is the difference between built green project design and standard residential construction?
Standard residential construction meets baseline energy codes, while built green project design integrates sustainable materials, advanced building science, renewable energy readiness, water-use efficiency, and rigorous indoor environmental quality standards. Green design requires third-party verification, performance testing, and documentation throughout the construction process. The integrated approach addresses the complete building system, envelope, mechanical, water, and materials, rather than treating energy efficiency as an isolated add-on, resulting in homes with lower operating costs, better durability, and healthier indoor environments.
How long does a typical built green project design engagement take?
Timeline depends on project scope and complexity. A custom home retrofit typically requires 4-8 weeks from initial assessment through design documentation. New construction projects may span 8-16 weeks to coordinate design phases, certifications, and performance testing protocols. Larger multifamily or institutional projects require longer coordination. Early engagement during concept design, rather than later in the process, reduces timeline and cost by avoiding redesigns. SC Design works with your project schedule to integrate green design services efficiently without delaying construction timelines.